Table of Contents
Tool Name: Email Message
Tool Description:
Email and PUSH Notifications allow users to set up conditional actions that send E-Mails or Push Notifications to your smartphone to specific users based upon an event. Before creating a Conditional Action E-Mail Notification, users need to:
1. Create the Notification Email to be sent; and,
2. Create an Email/Push Notification Distribution List to whom the Email and or Push Notice will be sent.
Tool Use:
Users can define as many Emails/Push Notices and distribution lists as they need based upon any number of defined events that occur within forms.
Creating Email Notifications
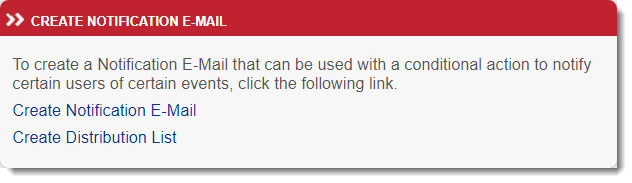
1. Within the Form Builder Application, select the “Create Notification Email” link as shown in the figure below.
2. When the link is clicked the Current Emails data table is displayed along with the Define Email Name and Text form. The Right Column displays the Dynamic Text box that contains the text that can be included in the body of the Email as shown in the figure below. The Dynamic Text is information that is related to the Event. Below are the definitions of the Dynamic Text that can be included in the Email. The Dynamic Text must be enclosed with square brackets and typed in upper case letters:
- CURRENT_DATE: Date the Event occurred
- USER_FIRST: First Name of the Email recipient (Admin, PI, etc.)
- USER_LAST: Last Name of the Email recipient
- FORM_NAME: Subject Event Form Name
- SUBJECT_ID: Subject ID associated with the Event occurrence
- VISIT_NAME: Visit Interval in which the Event occurred
- VISIT_DATE: Date on which the Visit was completed/occurred
- SITE_NAME: Site Name associated with the enrolled Subject
- STUDY_NAME: Name of the study as indicated in the Study Manager
- STUDY_ID: Database ID of the study
- SUBJECT_PIN: For use on subject login notifications, to send the patient their pin number.
- Any other data collected on the form can be included in the email so the notification contains specific data related to the record where the notice fired from. To do this, use the same square brackets as described above, with the field name enclosed. Example: [FIELDNAME]
3. In the Email Name/Subject text box, type in the name of the Email Notification as shown in the figure below.
4. In the body of the Email, type in the message to be sent to a defined distribution list of recipients as shown in the figure below.
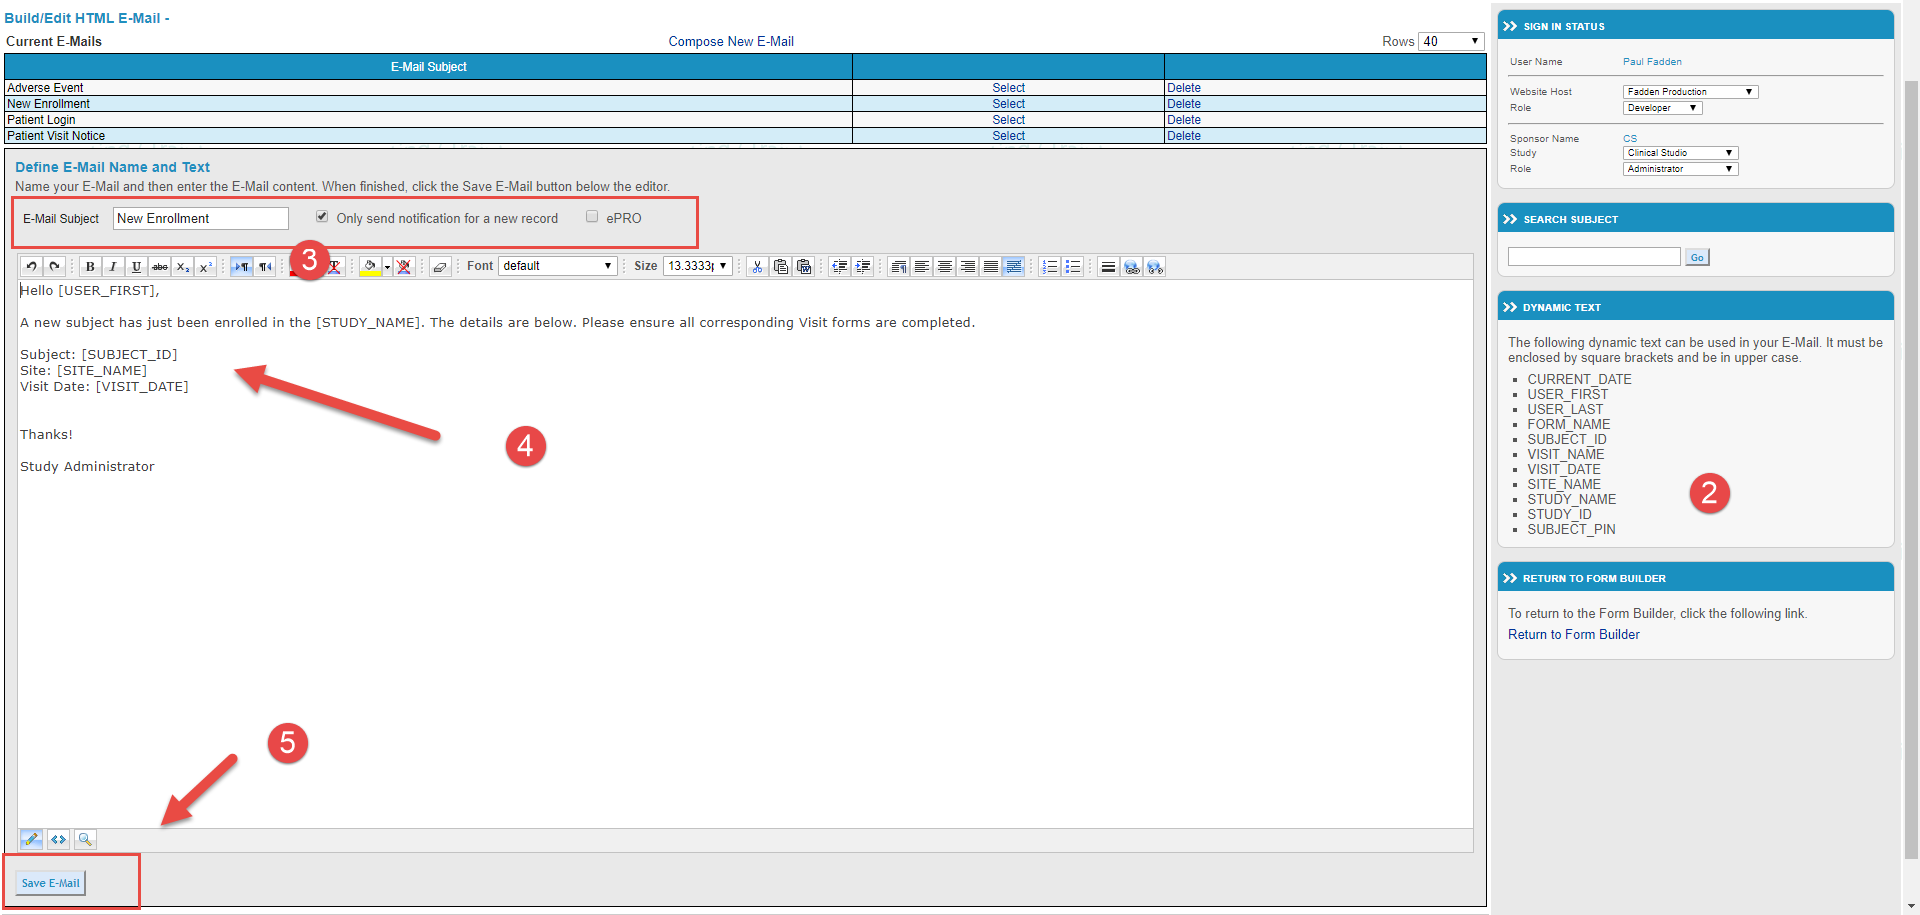
5. Click the Save Email button at the bottom of the page as shown in the figure above.
After clicking the “Save Email” button the message will populate the Current Emails data table as shown in the figure below.
After saving the Email, the Email Name will populate a dropdown list in the Conditional Action Email Notification. This will be shown in an example later in the document when a Conditional Action Email Notification is created in the Form Builder.
Email Editing
To edit an existing Email in the Current Emails data table:
Click the select control in the row associated with the desired email in the Current Emails data table.
After clicking the control the selected Email populates the body of the editor. Make the desired changes and click the “Save Email” button.
Email Deleting
To delete an existing Email from the Current Email data table: Click the Delete control in the row associated with the desired email in the Current Email data table.
Clicking the Delete control will remove the email from the Current Emails data table. It will also remove it from any conditional actions where it's being used on forms, so be sure to update those as necessary.
Email Distribution List
This is the list of recipients, by role, who will receive the email when the event occurs. If the role(s) selected is a site type role, only the users at the corresponding site where the notice is triggered will receive the message. In other words, all users of a single role will not receive the notification unless the role is an Administrative role type.
To Create an Email Distribution List:
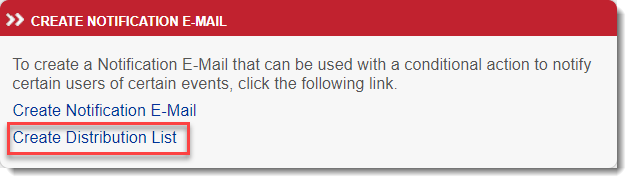
1. Within the Form Builder Application, select the “Create Distribution List” link. When the link is clicked the Existing Email lists data table is displayed along with the Add New Contact form. Clicking the link will open the Define E-Mail Distribution Lists page.
2. In the Distribution List Name text box field, enter the desired name for the distribution list, roles to receive email, and notification type (email, push notification, or both).
3. Click the “Save Distribution List” button at the bottom of the form as shown in the figure above. After clicking the button the Email Distribution List will populate the Existing Email Distribution Lists data table at the top of the Email Distribution Lists page.
Email Distribution List – Editing
To Edit the Distribution List:
1. Click the Edit control in the Existing Email Distribution Lists data table.
2. After clicking the Edit control the editable fields are displayed. Make the desired changes, and click on update link control to update or click on cancel to leave fields unchanged.
Email Distribution List – Deleting
To Delete a Distribution List:
Click the Delete control in the Existing Email Distribution Lists data table. Clicking the Delete control will remove the email distribution list from the Existing Email Distribution Lists data table.
Important: If the deleted distribution list or corresponding email is being used in any conditional actions, those forms may error upon saving by the end-users.
Email Distribution List – Viewing the Recipients of the Distribution List
To View the Recipients of the Distribution List:
Click the Select control in the Existing Email Distribution Lists Data Table as shown in the figure below.
Clicking the Select control from the Existing Email Distribution Lists data table, the Email Distribution Lists Recipients will display in the Email Distribution List data table located below the Add New Contact form as shown in the following figure.

Remember, for this example, the Role selected to receive the email was anyone designated as an Administrator. The Site(s) they are administrators for (set up in Study Configurations - Sites and Users) will receive the email.
Creating Email Notification Conditional Action
With the Notification Email and Distribution List completed, the next step is to create an Email Notification Conditional Action.
To create an Email Notification Conditional Action:
1. Click the “Form Builder…” link and open the form you want to have the email triggered from. Go to the tools section of the building section.
2. For this example, the Conditional Action Email Notification is being created for the enrollment of subjects field in the enrollment form.
3. Clicking the 0 - View/Edit control opens the Conditional Action Builder. In the Conditional Action Builder, click the type drop-down and select Email Notification as shown in the figure below.

5. Clicking the Email Notification type displays the Email Options box in the Conditional Actions Builder. In the Email Options box, click the Notification dropdown list and select the desired Email to use for the Notification as shown in the figure below. The dropdown list is populated with the Email(s) created using the Create Notification Email application.

6. In the Email Options box, click the Distribution List dropdown list and select the desired Distribution List to use in the Notification as shown in the figure below. The dropdown list is populated with the Distribution List(s) created using the Create Distribution List application.

7. Click the “Condition” button to populate the expression area with the dropdowns as shown in the figure below.
- Click the "Condition" button
- Set up expression using the trigger field
- Hit OK to add expression
- DO NOT FORGET TO SAVE THE EDC Form!!

8. After completing the Conditional Action click the OK button to save it and then the Save Form button to save the form in the Form Builder.
Now, when an Enrollment form is completed that meets the criteria designated in the Conditional Action a Notification Email will be sent to the designated Email Distribution List recipients.
Need more help?
 Please visit the Datatrak Contact Information page.