Summary
This article serves as a general single-source guide for end-users at the data entry and review levels. The objectives of this instruction include:
Table of Contents
- Accessing Datatrak Direct
- Adding new subjects and managing existing ones
- Responding to queries
Signing In
If you have been provided access to an existing study, you should have received an email from the following email address:
Be sure to check your inbox and spam/junk folder for this message and whitelist the address if necessary, as other notifications from the system may come from this address.
That email contains a link to the website and your temporary login password.
Alternatively, you can always visit the website and click the Sign In link at the upper right corner.

Lastly, the mobile app can also be downloaded on both the iOS app store and Google Play.
The mobile app can be accessed with the same login credentials used on the web, but with the added ability for two-factor authentication and biometric login.
Subject Management
The Subject Manager is where subjects are enrolled in a study and where their records can be accessed.
On the web:
Locate the Subject Manager under the Subject menu in the menu bar.

On the app:
The Subject Manager is found at the bottom of the screen, or by tapping "Access My Subjects" from the main menu.

Once inside the Subject Manager, you will be able to enroll subjects and access current subject records.
Enrolling/Adding New Subjects
Depending on the study, subject IDs are either automatically generated or manually entered. This and the format of the profile ID will depend on the study design. In this example, the system will auto-generate a new subject profile ID.
Datatrak Direct Web (Browser)

Follow these steps for the desktop or mobile app:
- Select the link to generate a new profile ID (desktop). The mobile app will create the profile ID automatically by tapping "Add New Subject". To manually enter a subject ID, simply type it in the text box. Different studies may have this configured differently to prevent manual entry or omit the auto-generated link altogether.
- Select the button/link to open the enrollment form.
On the app:

After completing the enrollment form, you can choose to return to the previous page where the subject enrollment table is displayed and shows all subjects enrolled.
Important Note: Opening up a subject's casebook after enrollment is dependent on first completing the subject registration form. Only then can a subject be opened up for further access.
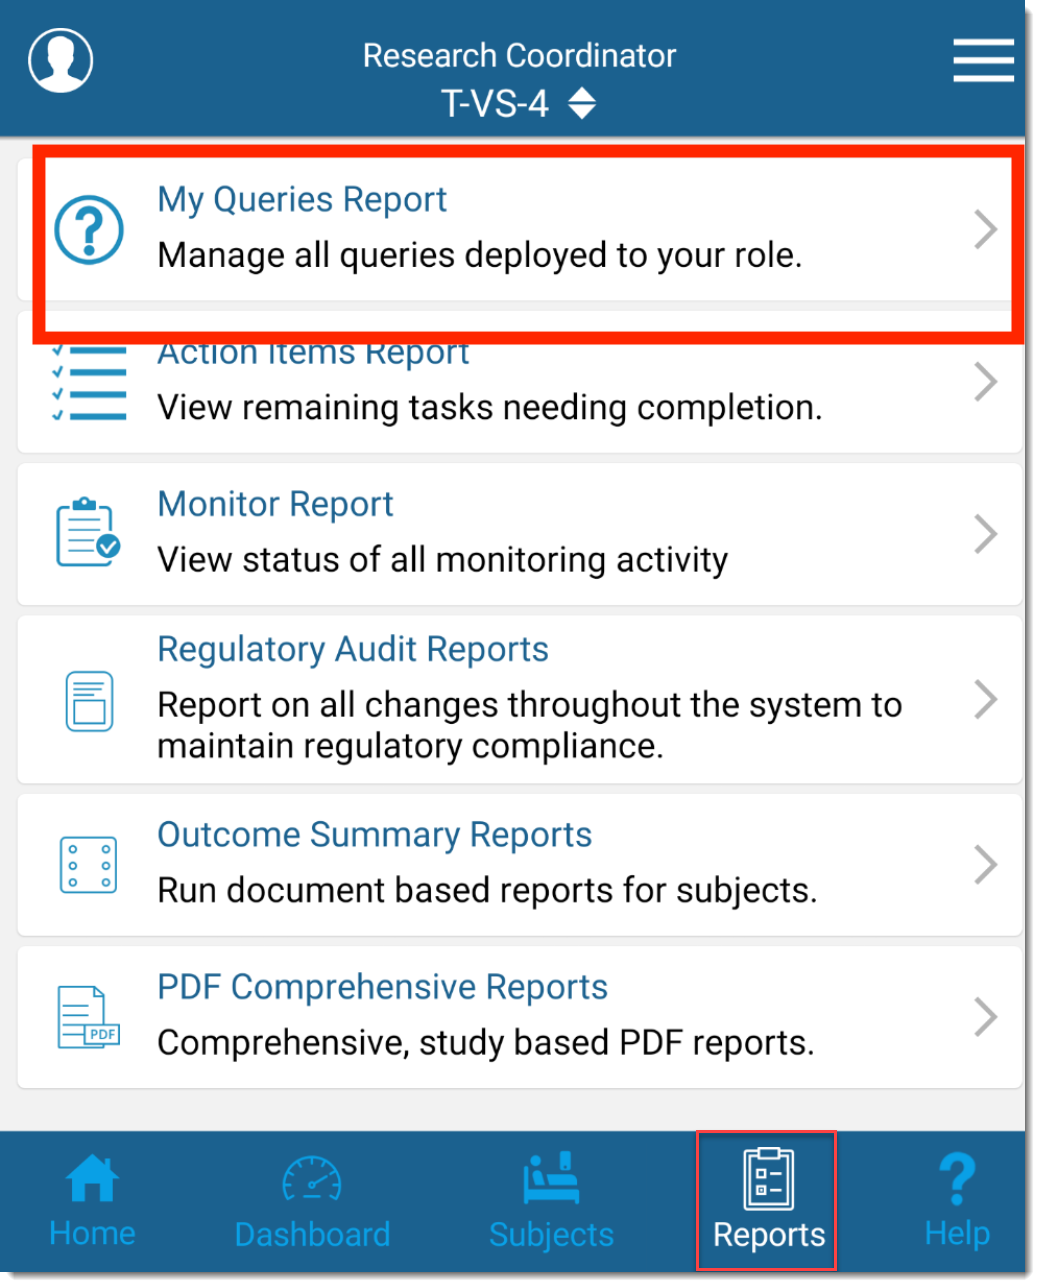
As you enter subjects described above, at some point the sponsor may start to conduct monitoring and data management queries of your data entered in the eCRFs. The report called "My Queries Report" is the report to keep you informed on queries to you as a site or your comments back to the sponsor from the query deployed to you. It is one central location to manage all manual and auto queries deployed to your role's web browser:

Once open, you will see a page similar to the one shown below. Reference the annotations below the image.

My Queries Report filtering descriptions:
- Link to the Subject's Records page
- Link to the record where the query resides
- The user who created the query or "Auto" if it was generated by the system
- The number of messages residing on the query; select this to open the query window and post query messages or close queries
- Shows a list of filters that are applied to the My Queries Report table
- Button to open the filter options
Filters:

- Display a specific date range of records (Note: this is not the date of the query)
- Text field to search for a specific subject - must match the subject profile ID exactly
- Displays a specific visit interval
- Display only Field, Form, or Interval queries
- Display a specific Form
- Display a specific Site
- Display only Automatic or Manual queries; Automatic queries are generated by the system based on edit checks or missing data
- Filters by specific role
- Shows exact query
- Display only open or closed queries
- Further filter the query status by Open-ATTN: Site, Open-ATTN: Monitor Closed, or Re-opened. Queries to the ATTN of the site are those created either by an Admin level role or by the system (e.g. form error); queries to the ATTN of the Monitor are those to which the site level user has posted a response
Mobile App:
Once open, you can choose between the different query types

The resulting list can be filtered further if needed via the filter icon at the upper right corner, or exported via the share link at the bottom right.
Tapping a row will open the record where that query exists. Tapping the dialog icon on the right will open the query dialog for posting a message or closing the query (permission dependent).

Action Items
The Action Item report provides a listing of missing records, draft records, and flagged records that have no reason for the change given (if applicable).
This report is particularly helpful for Coordinators who would like to see scheduled visit forms that are overdue ("Missed Scheduled Visits") but is also helpful for user who is responsible for data review.
To access it, tap the Reports tab in the bottom navigation bar and select the Action Items Report from the list of available reports. The following screen will be displayed after opening the report.

Tap on any of the items to open the corresponding list and drill into the records. Note, only one site, selected at the top, is displayed at a time.
For further articles and descriptions, check out the full help site here.
Need more help?
 Please visit the Datatrak Contact Information page.